Free Design Service
 RAPID Turnaround Times
 PRICE BEAT Guarantee
 0800 177 666












 Collections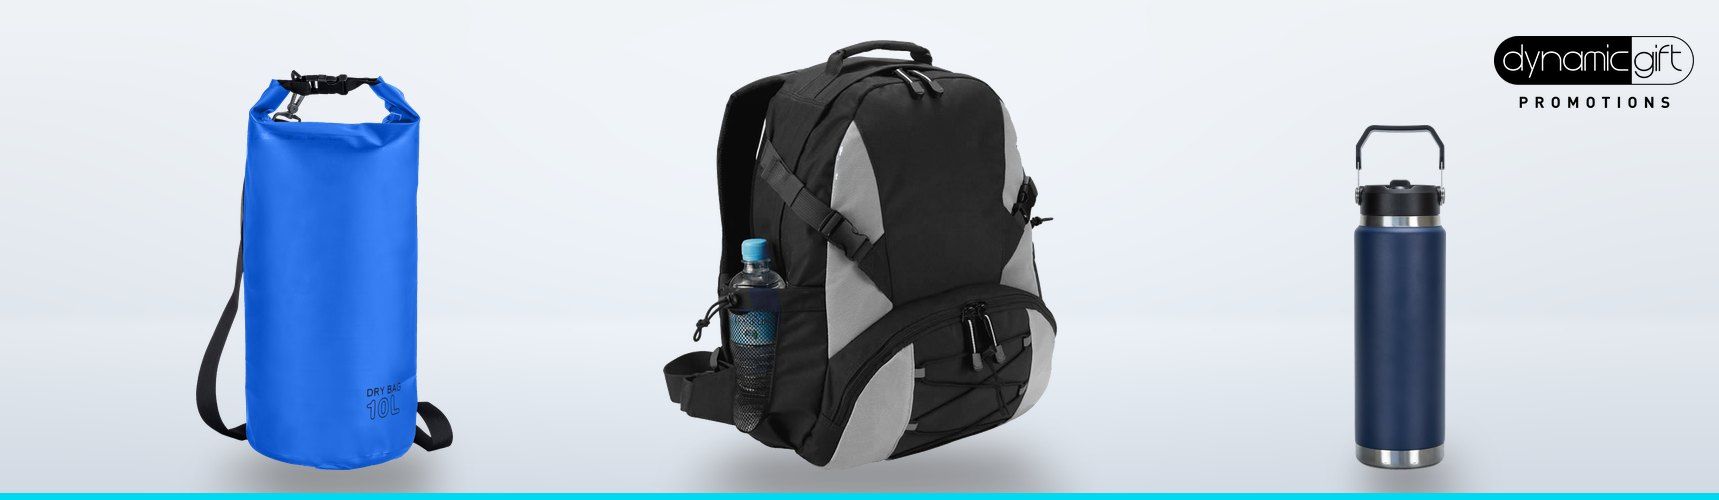
Packing a tramping pack is simple once you know the order. Bulky, light gear goes at the bottom, heavy gear sits against your back, and day gear rides on top. Before any of that, a waterproof liner goes in.
Knowing how to pack a tramping pack properly keeps the load steady and your sleeping bag dry. This guide covers the order step by step, then what to carry for a night in a DOC hut.
Quick Answer
Same order, every trip.
- Line the pack with a waterproof pack liner.
- Bottom: sleeping bag and dry hut clothes.
- Middle, against your back: food, cooker and fuel.
- Top: rain jacket, warm layer, first aid kit.
- Lid and pockets: snacks, map, sunscreen, head torch, water.
- Last: settle the hip belt, then pull the compression straps in.
With gear already in dry bags, the job takes about ten minutes.
What Do You Need Before You Start?

Lay everything out on the floor before a single item goes in. DOC's overnight and multi-day gear list starts with a 40 to 60 litre backpack. It also treats a waterproof or plastic pack liner as standard kit, not an optional extra.
That distinction matters in New Zealand rain. A rain proof pack cover sits on DOC's optional list, and it only sheds the first stretch of drizzle. Water eventually tracks down your back and through the seams.
A liner works from the inside, so it keeps going long after the outer fabric soaks through. Sort the rest into dry bags by type, one for sleeping kit, one for clothes, one for food. At the hut you grab the bag you need, not the whole pack.
Clubs, schools and tourism operators often standardise a group kit with custom backpacks. Matching gear makes head counts and pre-trip checks much quicker.
How to Pack a Tramping Pack Step by Step
Seven steps, same order every time. Each one exists because something specific goes wrong when you skip it.
Step 1: Fit the Pack Liner
Push the liner into the bottom corners of the empty pack before anything else goes in. Most tramping packs are water resistant, not waterproof, and steady rain finds its way through zips and seams.
Skip it and you reach the hut with a wet sleeping bag, the one failure a night out cannot absorb. Leave enough liner above the load to fold and twist the top closed.
Fully waterproof packs do exist. Dynamic Gift's Stormtech Cirrus Backpack 35 uses 100% waterproof fabric with ultrasonic welded seams and a roll-top closure.
Step 2: Sleeping Bag at the Bottom
Your sleeping bag goes in first, inside its own dry bag, stuffed firmly into the base. It is bulky and light, exactly what belongs low down, and you will not touch it until the hut.
Add hut clothes on top. DOC notes that clothes cannot be dried in huts and that bunkrooms have no heating, so a dry set to change into is not a luxury.
Camping changes this zone. A tent, sleeping mat and ground sheet all join DOC's list, so the tent goes low and the sleeping bag moves up a little.
Step 3: Heavy Items Against Your Back
Food, cooker and fuel form the heaviest block you carry, so they sit in the middle and as close to your spine as they will go. Fill lighter gear in around them, not the other way round.
Weight held away from your back acts like a lever, pulling you backwards on every climb. That is why the food bag never goes at the bottom.
Keep the gas canister upright and store it beside or below the food, never above it. DOC also asks you to keep food in a rodent-proof container or bag. Nothing is for sale on the track, so what you carry is all you get.
Step 4: Day Gear on Top
Rain jacket, warm layer, first aid kit and lunch belong in the top third. Anything in this zone should be in your hand inside a minute, without disturbing the layers below.
New Zealand weather makes that a safety decision, not a convenience one. With the jacket buried under a food bag, you talk yourself out of stopping until you are already cold.
Pack the jacket last whenever the sky is already grey. Gloves and a warm hat get the same treatment before an exposed tops crossing.
Step 5: Fill the Lid and Pockets
Map, snacks, sunscreen, insect repellent and head torch live in the lid, where you can reach them at a two minute stop. Keep the torch there even on a day that should finish in daylight, because trips run late.
Water goes in the side pockets. DOC's overnight list calls for a 1 to 2 litre drink bottle, plus more if your route has nowhere to refill. A bottle you can reach while walking is a bottle you actually drink from.
Keep dense items out of the pockets. Weight at the edges swings on rough ground.
Step 6: Keep the Outside Clear
Gear hanging off the outside snags on branches, soaks up rain first and swings the pack around. Boots, mugs and wet socks strapped to the back are the classic overnight mistake.
Two things genuinely have to ride outside: walking poles, and a sleeping mat if you are camping. Strap both down hard with the side compression straps so neither moves independently of the pack.
Everything else fits inside. A tramping pack carries better full and compressed than half empty.
Step 7: Tighten Up and Check the Fit
Fold and seal the liner, close the lid, then pull the side compression straps in until nothing shifts. A load that moves inside the pack will move you around on the track.
Now put it on and adjust in order, or you undo your own work. Loosen the shoulder straps first, settle the hip belt on top of your hip bones, and do it up firmly.
Pull the shoulder straps snug without letting them take the load, then clip the sternum strap across your chest. Your hips should carry most of the weight. Adjust again after twenty minutes, once everything has settled.
Why Does Backpack Weight Distribution Matter?
Backpack weight distribution comes down to one thing: how far the heavy items sit from your centre of gravity. Keep them between your shoulder blades and close enough to touch your back, and the load moves when you do.
Push that same weight low, or out towards the lid, and it starts working against you. On a sidle track, the delay between your body turning and the pack following is what puts you off balance.
Overseas advice on how to pack a hiking backpack lands in the same place. Heavy gear goes centred and close to the spine, with light gear filling in around it.
| Pack zone | What goes there | Why it works |
|---|---|---|
| Bottom | Sleeping bag, hut clothes, tent | Bulky and light, not needed until you stop |
| Middle, against your back | Food, cooker, fuel, water bladder | Heaviest gear sits closest to your centre of gravity |
| Top | Rain jacket, warm layer, first aid kit | Reachable at a quick stop without unpacking |
| Lid and pockets | Map, snacks, head torch, drink bottle | One handed access while you keep walking |
Pack design does some of this for you. Dynamic Gift's Outdoor Backpack has an ergonomic design for optimal weight distribution, adjustable padded shoulder straps and multiple pockets for organised storage.
Does a Hut Night Pack Differently to a Tent Night?
Yes, though the difference is volume rather than method. A hut trip lets you leave the tent, sleeping mat and ground sheet behind, which frees up most of the bottom zone.
Camping puts all three back on DOC's list, and they are bulky. Tent and ground sheet go low, the mat fills the base or straps along one side, and everything above shuffles up.
Huts change the small stuff too. DOC suggests ear plugs for communal bunkrooms and lightweight shoes for inside the hut, and both belong in the lid where you can reach them on arrival.
What Should Be on Your Tramping Packing List?
Build your tramping packing list from DOC's overnight and multi-day gear list rather than from memory. It groups kit into personal equipment, cooking and food, toiletries and clothing, which is also how to split your dry bags.
Five items on it are easy to skip and awkward to be without. Four of them are a distress beacon, a survival kit, an emergency shelter and spare head torch batteries. Fifth is a rubbish bag, because all your rubbish comes back out with you.
Clothing gets its own warning. DOC says cotton is not suitable, because jeans, T-shirts and sweatshirts stop keeping you warm once wet. Wool or polypropylene layers do the job, one set to walk in plus a dry set for the hut.
Then check the load against the Land Safety Code. Two of its five steps cover packing warm clothes and extra food, and sharing your plans with a way to get help. Log the trip through Plan My Walk, or leave your route and return time with someone you trust.
Common Mistakes to Avoid
Most packing problems trace back to the same few habits, all quick to fix while your gear is still on the floor.
- Trusting the pack fabric instead of fitting a liner
- Putting the food bag at the bottom, where it drags you backwards
- Burying the rain jacket under the food when the sky is already grey
- Hanging mugs, boots and wet gear off the outside
- Storing a gas canister above food in the same compartment
- Leaving compression straps loose, so the load sways on river crossings
- Carrying the weight on your shoulders because the hip belt sits too low
- Telling nobody your route or your return time
Branded Tramping Packs for Clubs and Operators
Outdoor clubs, schools and tourism operators usually kit out a whole group at once. Head counts, gear checks and lost property all get simpler when every pack looks the same.
Dynamic Gift's Custom Backpacks NZ range currently lists 124 products. One is the Titan Heavy Duty Backpack, with a padded back panel, padded adjustable shoulder straps and webbing compression straps. Branding goes on through Colourflex Transfer or embroidery.
Every order includes a free design service, a Price Beat Guarantee and rapid turnaround times. Ask for a free quote in New Zealand dollars on the custom backpacks range, and Dynamic Gift emails back a 100% obligation free artwork proof.
Conclusion
Packing a tramping pack well comes down to order and repetition. Liner first, sleeping bag at the bottom, heavy gear against your back, day gear on top, then straps pulled in tight.
Do it the same way every trip and your pack feels lighter than it is.
Frequently Asked Questions
How do I keep my sleeping bag dry?
Give it two layers. It goes inside its own dry bag, which then sits inside the main pack liner. A wet sleeping bag can end a trip, so it earns the extra care.
Do I need a pack liner and a pack cover?
DOC lists a waterproof or plastic pack liner as standard gear, and a rain proof pack cover as optional. Start with the liner, because it keeps working after the pack itself is soaked.
What size pack do I need for an overnight tramp?
DOC's overnight and multi-day gear list suggests a 40 to 60 litre backpack. Smaller suits a summer hut night, while the top of that range covers winter layers or camping gear.
Where should water go in a tramping pack?
Bottles sit in the side pockets so you can drink without stopping. A hydration bladder lies flat against the back panel, which keeps its weight in the heavy zone.
Is tramping the same as hiking?
Yes. Tramping is the New Zealand word for hiking on bush and mountain tracks, usually between huts. Everything above works for a hiking pack overseas.





 22 McColl Street, Newmarket, Auckland 1023